Top o' the mornin' y'all.
If we waited to reveal the nursery until it was 100% complete, P-Nut would be 3-1/2 years old and begging for a big boy bed. So we thought we'd keep showing pieces bit by bit as they get complete. It helps us feel like we're actually making some progress, and hopefully keeps the 5 of you that read this blog interested in what we're doing. (We're known for going weeks, sometimes months, between posts.)
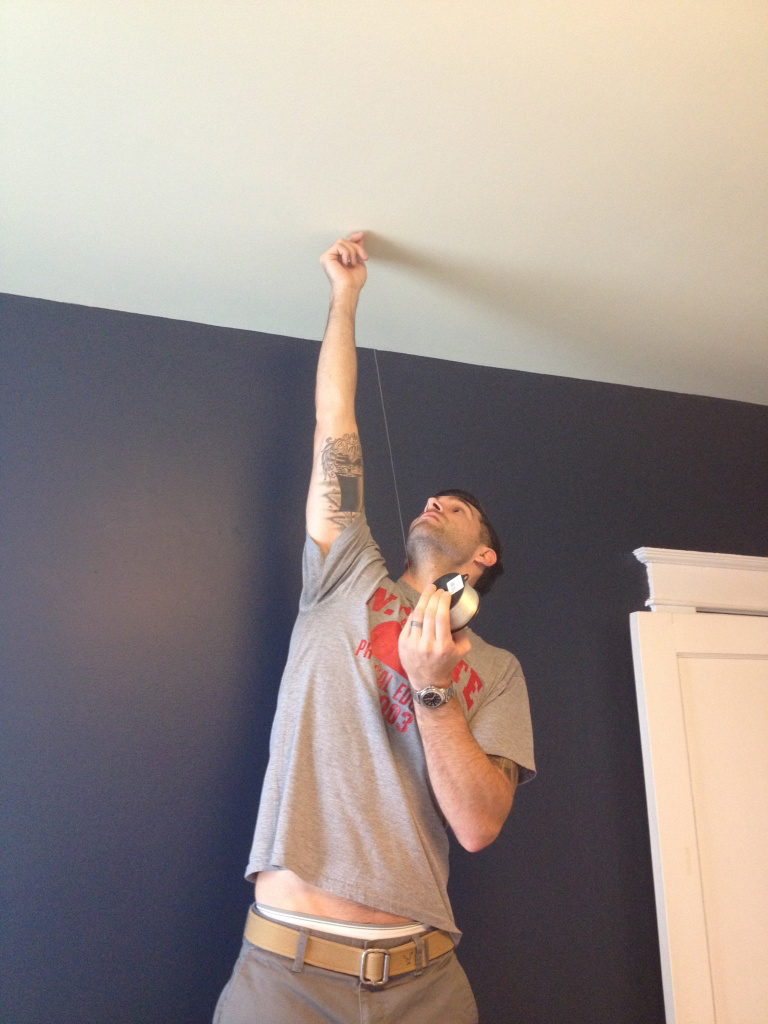
When we last met, my hunka-hunka-burnin' husband had just
written up a quick tutorial on how we added the herringbone feature wall to the mix. We purposely didn't show a great after picture because...well, we didn't have one. There was still crap everywhere blocking a good view and our OCD personalities were keeping us chained to the wall making tiny touch-ups here and there. Well...there's still a lot about the room below you'll never see again, but it's a good start.
 |
| If you're finding yourself wanting to pet the wall, I can't blame you. |
The high contrast of the white and navy makes me tingle. Well, it's either that or the baby sitting on my sciatic nerve again. A little from column A, a little from column B.
And what's that colorful print I see? As I mentioned before, my artsy fartsy husband was going to make a custom print for our son-to-be that we would be hanging in a salvaged frame from the beach.
I took the original art and mat out and gave it a quick coat of white spray paint to freshen it up.
 |
| It's balancing on a pile of trees and branches that came down in our yard that our landlord lovingly dumped to the side of the yard rather than removing. |
Then I took the secondary mat that was underneath the white to create a border and painted it the same navy as the walls with some leftover paint.
 |
| There's that black & white test fit I mentioned a week or so ago. |
Once it had a few hours to cure, we put the color print in place with some tape and framed that puppy. (By the time all this came together and got hung on the wall, it was night time, so that's why the color is a little off.)
 |
| Next time won't you sing with me? |
I love that it's colorful, fun and bright but still modern. And did I mention CHEAP? I love finding old frames/mats at yard sales or Goodwill and giving them new life. The wood of this frame was actually the perfect color and shape, but spray paint can do wonders in helping you integrate a wonky old frame into your chic abode. Buying a frame and mat of this size brand new would have been dumb. Yeah, I said it. Dumb.
Speaking of making wise financial decisions...I think it's time to drop the bomb on y'all.
We have been searching for quite literally...the duration of my pregnancy (30 weeks now!) for the perfect nursery chair. The criteria included:
- Comfort: Do I want to sit in this for an hour if needed?
- Style: If People Magazine were doing a feature of Best Dressed Chairs, would ours be the Gwyneth Paltrow or Tila Tequila? Who even mentions Tila Tequila anymore?
- Cost: We're not doctors over here. We don't drop hundos like it ain't no thing. We've been known to eat Ramen noodles to keep our budget in line. It needed to be a steal.
- Longevity: Will we be able to use the chair after its life in the nursery? Our beef with the gliders and rockers that a lot of folks use is that they are now stowed away in the attic, not being used. We want to use this chair for as long as possible to get the most bang for our buck.
Me and Craig (of Craigslist) have become pretty tight over the past few months and we hang out on the reg. Well last Tuesday, the chair heavens opened up and we pounced.
Thursday afternoon, we scheduled a time to come look at the chair/ottoman combo taunting me from my computer screen. We had a really strong suspicion we would be walking away with this treasure so we emptied out the back of the truck in anticipation and hit up the ATM.
 |
| To answer your question, you need at least $1,000 to make it rain. |
The guy described his house as being in "West Cary." Well Nick and I both grew up in Cary and the part of town we drove to was considered Kentucky when we were growing up. Homeboy lived about 40 minutes from us. But onward we pressed.
We walked into their house and were led back to the rear office. I honestly think beams of light were emanating from underneath the door as we approached. We both took turns sitting in it, kicking our feet up on the ottoman. I got up and inspected all the leather and framing. It was made in the 60's but looked almost new with the exception of a small rip in the ottoman.
"We'll take it." Nick handed over the $200 to the nice gentleman and we were on our way.
The entire ride home we kept glancing in the rear view mirror or turning around at stop lights to look at her.
"She's beautiful."
"I can't believe that's our chair."
"I can't believe he sold that to us for $200."
"You wanna stop on the side of the road and sit in it for a while?"
Into the house she came and we settled her into place in her new home.
 |
| I peed myself a little just looking at the picture. |
Note: this is not an original Eames chair. It is a replica. It was made in the 1960's but an original Eames would be close to $4K. The original Eames chair was not designed as a true lounge and typically is not as comfortable as their knock-off counterparts. They were originally intended to sit in the corners of offices as art pieces...not for long term sitting.
We have a lot of close friends who are artists of various mediums and I know a lot of them have strong opinions about knock-off/replica designs. I have a lot of thoughts on this matter so I'd love to sit down and have coffee with you one day to debate. You'll, of course, be buying the coffee because I'm clearly the cheapskate in this situation.
So that's the update for now. I'm currently on the hunt for new bedding for the guest bed, dreaming up something to do to the side tables, and we're about half way through building this custom mobile. Fingers crossed!