Home renovations are not for the faint at heart. We knew this going in but it's sort of like
someone telling you what it's like to be a parent; you have to experience that
shiz before you can proudly call yourself a member of the club. When you choose
to DIY said renovation, there is a whole new level of cray happening because
you are the only one to blame for mistakes and delays. But it's way cheaper.
And Nick and I are frugal. Like, we love a pair of rhinestone jeans as much as
the next guy but why pay $100 for some at the store when you can bedazzle a
pair you already own?*
*This example comes from a real life conversation he and
I had.
Saying all that, I think we did pretty good on The Great
Kitchen Makeover with regards to both time and budget. Coming in at 6 weeks for
a total transformation seems encouraging when you consider we both work full
time, have a 22 month old who loves to "help" and one of us is
knocked up with a baby girl. We most
certainly had some hiccups along the way but we count ourself lucky that it was
nothing major.
So let's pick up where we last left you. Our beautiful
new hardwoods were in and the slate was blank.
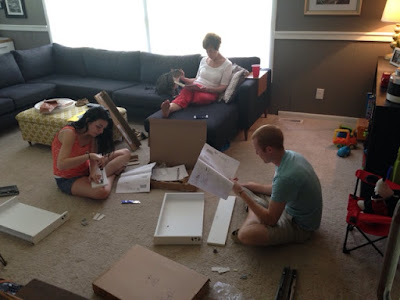
Our mighty troops rallied that Saturday and we began to put shape to the
room.
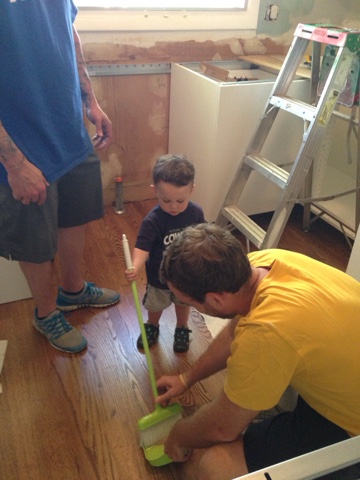 |
| Ever the project manager. |
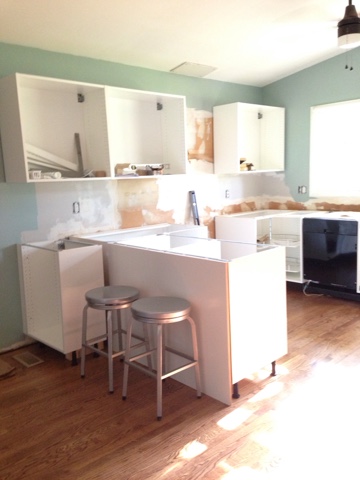
All of our base cabinets (if you remember, had been
assembled over the prior weeks in preparation for this day) were set in
place. The new IKEA line (SEKTION) has
some pretty noticeable improvements from its predecessor, AKURUM, which we
installed in our den. Most noteworthy
being ease of installation. By securing
a rail to the wall (that we checked to be level) the cabinets hooked on to the
slots and were supported by adjustable legs in the front. Similarly, the upper cabinets hooked on and
were secured to the rail. This was nice
because we needed to do some adjusting of the uppers to ensure our future
counter would align with the uppers, making for a straight termination point
for the backsplash. All I can say is:
MATH.
I had grand aspirations of setting up my phone to capture
the process via time lapse but it honestly went so quickly that I missed my
chance. It was really quite simple.
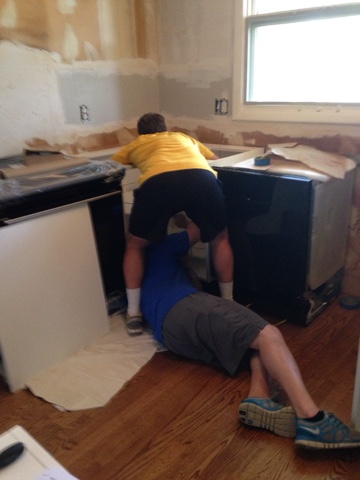 |
| Best reno picture ever? You decide. |
Feeling accomplished, the other half of our crew painted
the walls with Sherwin Williams Quietude.
Our muddling master, Melissa, turned out also to be a professional
edger. Her, Coach, Crissy and I knocked
out the walls in a no time.
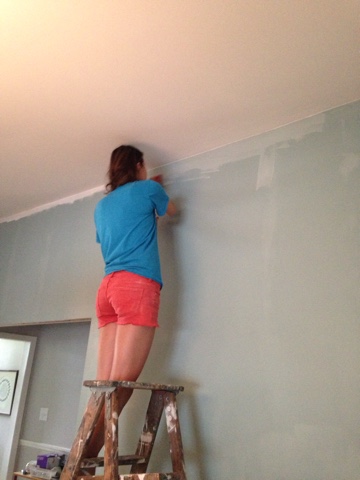 |
| Look at her go! |
Our momentum was deceiving.
The counters were due to be templated that Monday morning
and so everything needed to be level, square and secure. We spent our precious few hours of Carter's
nap Sunday to make sure that was the case and waited for our guys to
arrive. It would take a week to
fabricate the counters so we were in a bit of a holding pattern with no real
progress to be made.
 |
| GET LEVEL, YOU JERK! |
 |
| Cabinet shells in, cover panels on. |
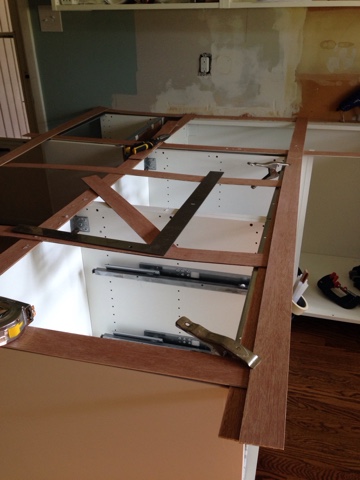 |
| If you ever wondered how they template countertops... |
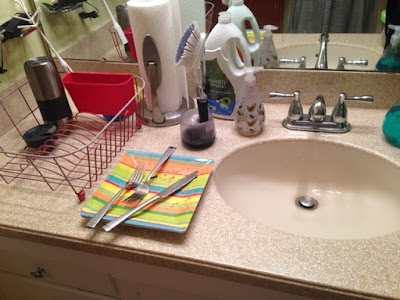
Let me give you a quick glimpse into our lives that
week. With our kitchen offline, we had a
makeshift kitchen in our den (with the refrigerator, microwave, a few plates
and silverware, snacks and basic staples), our cereal bowl-sized sink in the
bathroom down the hall for washing plates, and everything else from the kitchen
in the living room. ("Honey, where's the salt and pepper?" "In
the small box by the fireplace in the living room on the other side of the
house."). As someone who prides herself in efficiency, this was about as
far from it as it gets. But it was just
a season. We grilled out one night for
dinner, used the crockpot one night, my mom made a lasagna for us one night,
and we went out a few times to eat.
Carter's obsession with waffles (or "laffles " as he calls
them) developed that week as using a compact waffle iron was a tricky way to
get a warm breakfast without any real appliances.
 |
| This got old a lot quicker than you'd think. |
One thing that we were able to knock out was installing
the trim and shoe moulding in the dining room.
Nick's Dad trimmed out the newly widened opening and floor moulding
while we were at work one day. It went a
long way in making the space look more finished. I eventually (as in last weekend) got around
to puttying, sanding and painting all of that trim. I woke up the next day after crawling all
over the floor feeling like someone had used me as a punching bag. It's always cool when you realize you aren't
18 anymore. Bruises in weird
places...butt all knotty. Youth...you
elude me.
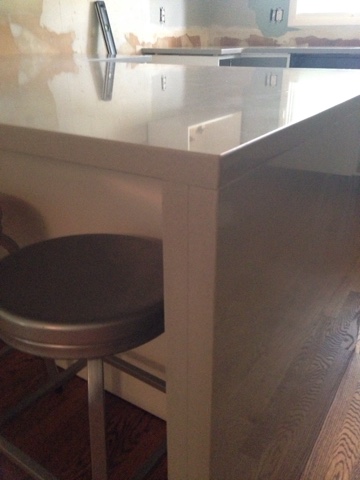
Seeing the truck pull up a week later with our gorgeous
counters in the back was one of the most beautiful sights I'd ever seen. ''Twas the sight of progress. I had selected Hanstone's Pewter Quartz and
my sales rep recommended The Countertop Factory for fabrication and
installation. They did a lovely
job. Seaming at the waterfall edge was
my biggest concern (it's a bit of a tricky detail) and they did a fantastic
job. I only had two seams planned based
on the slab size (never over a dishwasher or sink) and they virtually
disappeared. And within a few hours, our
kitchen was really looking like a kitchen.
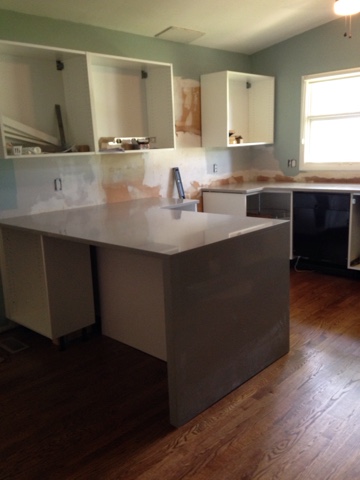 |
| Waterfall edge and offset cabinets allow for stool space. |
 |
| If you look close you can see the seams...but I've seen a lot of counters in my day and they did a great job. |
Once the counters were in, it was finishin' time. Hang doors, install drawers, drill for and
install hardware. Adjust doors to sit
level, add bumpers, install toe kicks.
Install shelves and other organizing voodoo. Move crap back in!
 |
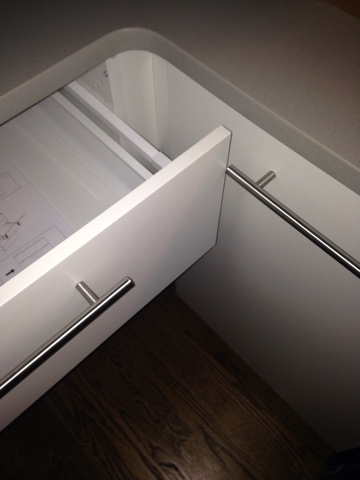
We had two drawers that hadn't been put together yet. According to my sister, they are now the most important drawers in
the kitchen. |
 |
| "What's the situation, Dad? Do we adjust the doohickies?" |
 |
| One miiiiiinor hiccup. Don't worry. We resolved it. |
 |
| See the wonky panel next to the sink? That's the dishwasher with integral panel front. It took some adjusting. |
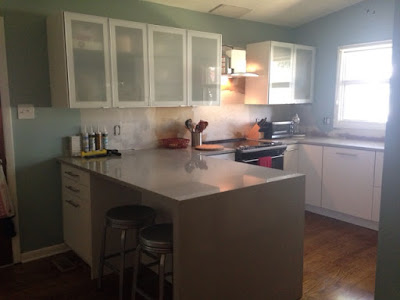 |
| Glass upper cabinet doors in, toekicks installed, hood (with no vent pipe) up. |
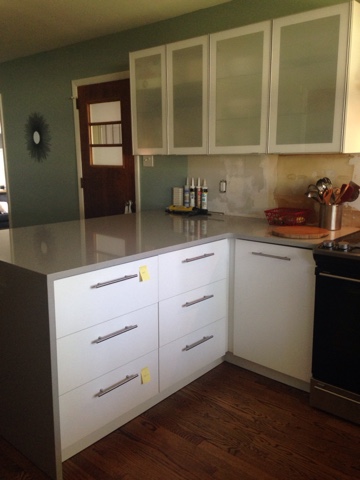 |
| Post its are my preferred method of organization. |
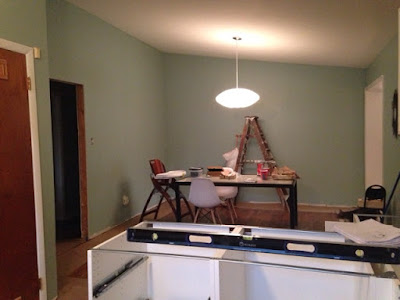
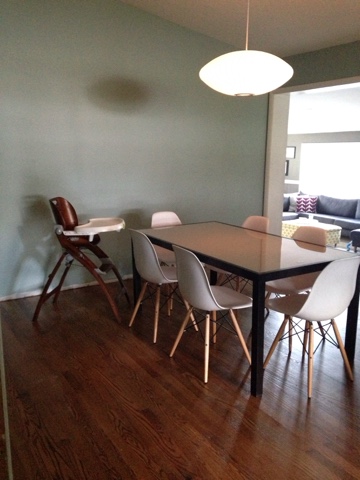 |
| Dining room side. |
It's a short paragraph (a lot of pictures), but let me tell ya, it's the kind
of work that sucks your soul dry. The
only thing I can figure is that it's all tedious, semi-time consuming work and
yields very little visual results. So
maybe we just didn't feel like our results matched the effort we were putting
in. Or maybe it was because we were
doing that work after Carter was down, on week nights, after long days at
work. Adrenaline was waning by the 4th
week and we had to take turns being the cheerleader for the project.
But we did it! And ahhhhh, to have a functioning kitchen
again was a thing of beauty. The only
major thing left to do was the backsplash.
The *#@&! backsplash...


Looks great! We are looking at using IKEA countertops--you didn't like theirs?
ReplyDeleteHonestly, I didn't look into them too much. I'm sure they are fine but I happen to get a discount on some products as a designer and I knew I wanted this Quartz. But I would guess their line is good too! We are very happy with the quality of the cabinets.
Delete